Perler Bead Pattern Maker
Turn a photo or illustration into an editable bead pattern. Choose a Perler, Hama, Artkal S, Nabbi, or MARD color palette, set the bead grid and board size, then download a numbered, board-by-board PDF with a color key. Screen colors are estimates; compare them with your physical beads.
Your bead pattern starts here
Choose a photo or illustration. We’ll create an editable bead grid and color list automatically.
Your image stays in this browser and is never uploaded.Or start with a sample
Choose a tool, then click or drag across the grid. Undo and redo shortcuts: Ctrl/Cmd+Z and Ctrl/Cmd+Shift+Z.
Export settings
Choose a bead project to try
Browse distinct photos of animals and everyday objects. Choose one to load its bead colors and board settings in the editor.
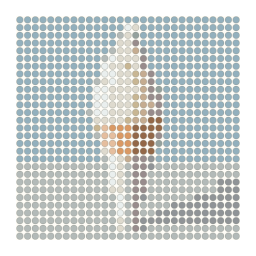
Vanilla soft-serve cone
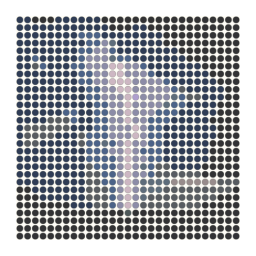
Lightning over a field
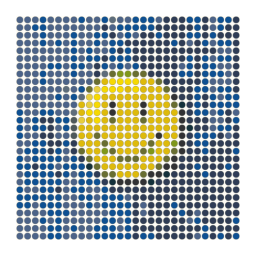
Yellow smiley-face pin
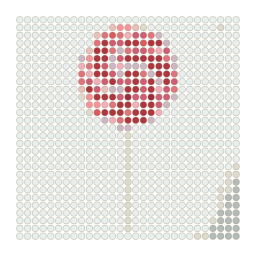
Red spiral lollipop
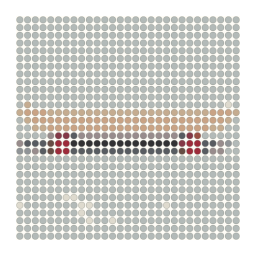
Skateboard with red wheels
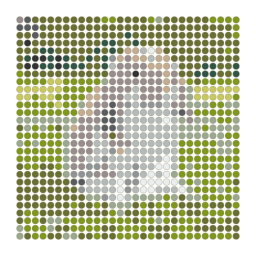
Lop-eared rabbit
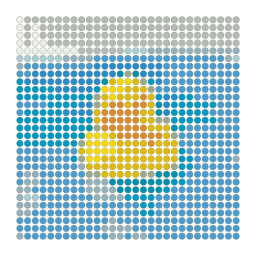
Yellow rubber duck
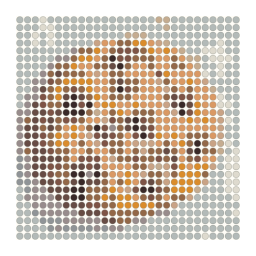
Chocolate-chip cookie
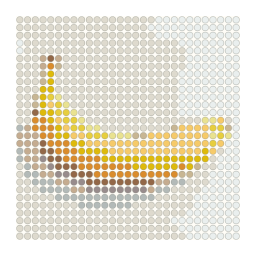
Single ripe banana
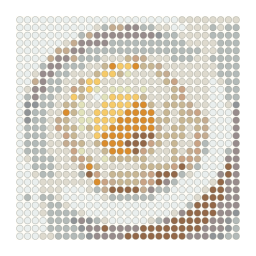
Sunny-side-up egg
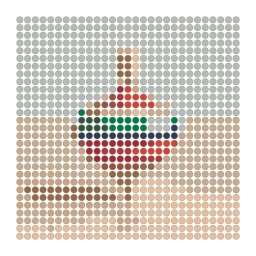
Colorful wooden spinning top
These starter designs are illustrative, not customer work. Choose one to load it in the editor, then adjust the grid and colors for your project.
Features
Explore what this workspace can do, how each control affects the result, and which export fits your next step.
Choose from five bead color catalogs
Select Perler Midi, Hama Midi, Artkal S, Nabbi, or MARD. The converter matches image cells to a nearby catalog color; digital RGB values are references and can differ from physical beads.
Set the number of beads across
Choose a design width of 29, 58, 87, or 116 beads. The grid height follows the source image proportions, so a tall design remains tall instead of being forced into a square.
Plan large work with board sections
Choose how many beads fit across each printable PDF board page. Larger patterns are divided into numbered sections with row and column ranges, plus an overview to help keep boards in order.
Edit cells and inspect bead counts
Paint, erase, fill, or pick a color to refine the chart. The key reports the reference color and the number of grid positions assigned to it; counts do not include spare beads.
Print a numbered color chart
The PDF includes a board overview, color key with brand codes and quantities, and numbered pattern pages. A PNG provides a compact visual reference for the complete design.
Start from a photo or illustration
Load a PNG, JPG, or WebP image, or choose a built-in example. A clear outline and simple background often make a more readable bead pattern than a busy photo.
Convert in your browser
The selected image is processed locally in the page. The tool does not upload it to a conversion service or save an account project for a later session.
How to make a Perler bead pattern from a picture
Choose the bead catalog you own, decide how wide the design should be, check the board layout, and use the color key as a reference while placing beads.
Choose the image and bead brand
Load a source image or sample, then select the catalog that matches the beads you plan to use. The color key follows that brand reference, so switching catalogs can change the mapped colors and counts.
Set design width and color limit
Choose 29, 58, 87, or 116 beads across and review the resulting height. Use a smaller design and fewer colors for a simple pattern; increase detail only when the subject needs more cells.
Check edits, counts, and board pages
Correct any stray cells, review the color key, and choose the board width for the PDF pages. Check that numbered sections and row ranges make sense for the physical boards you will assemble.
Print the guide and compare real beads
Download the PDF or PNG and compare the digital color key with your actual beads before starting. Add spare beads according to your own project needs because the listed totals count chart positions only.
What a bead pattern maker does
The tool samples an image into a bead-sized grid and assigns each cell to a color in the selected catalog. The color key groups those cells and reports how many positions use each reference color. This turns a photo or illustration into a chart you can follow while placing beads.
The chart is a planning reference rather than a guarantee of physical color or a complete project inventory. It does not include spare beads, fuse or ironing instructions, pegboard availability, or a final assembly method. Use the pattern together with the materials and safety instructions for your own project.
Select the palette that matches the beads you own
The available catalogs are Perler Midi, Hama Midi, Artkal S, Nabbi, and MARD. Select the brand and format closest to the beads you will use before you review the color key. Different catalogs may contain different color names and references, so a pattern mapped for one can change when you switch to another.
The palette values are screen references based on community-maintained color data, not guaranteed measurements from every production batch. Screens, room lighting, and physical bead appearance can differ. If you are matching a specific existing set, compare the printed key with the beads in good light before committing to a large design.
Choose a bead width that fits the design
The pattern width options are 29, 58, 87, and 116 beads across. A 29-bead design has fewer positions and larger visual blocks; a wider design can preserve more details but uses more beads and may need several boards. The height follows the source image proportions.
Start with a width that fits the subject and the boards you can arrange. Check the total height and whether a large design will need multiple physical boards. A portrait source can be much taller than it is wide, so width alone does not describe the complete layout.
Use board pages to organize a large pattern
The PDF can divide a large pattern into board-sized sections. Choose how many beads fit across each page; the export can then show an overview, the color key, and numbered pages with board positions and row and column ranges. These labels help you keep adjacent sections in the right order.
The PDF board setting is a chart layout choice, not a guarantee that a particular physical pegboard system fits the design exactly. Compare each section with the boards you own and plan how they will connect. Keep the overview visible while working so a page rotation or misplaced section is easier to catch.
Read bead codes and counts as references
The key lists brand color references and the number of chart positions mapped to each color. Counts represent the cells in the design. They do not include extra beads for dropped pieces, test colors, mistakes, or replacements, so add your own practical allowance.
Bead RGB values are approximate screen colors. Physical colors can look different because of material, lighting, screens, and production variation. Compare the key with actual beads before beginning, especially for colors that sit next to each other or define the subject’s outline.
Choose a source image with clear regions
A single subject, readable outline, and simple background tend to make better bead charts. A close crop gives the design more cells for the important shape. Busy photographs with small highlights and textures can produce frequent color changes that are hard to assemble.
If the subject disappears in the preview, try a larger grid width, simplify or crop a copy of the source, or use cell edits to restore its defining features. Compare the chart at normal viewing distance. A detail visible only when zoomed in may not improve the finished piece.
Edit the grid before printing
Paint corrects individual cells, Fill changes a connected region, and Pick reuses a color already in the grid. Erase removes an unwanted cell. These tools can smooth a boundary or remove an isolated pixel that would create an unnecessary bead color change.
After editing, inspect the color key and counts because both reflect the updated grid. Check large sections against the overall image before printing the board pages. If many cells need changes, try another source crop or width so you are not correcting a poor conversion one bead at a time.
Print and follow the board-by-board PDF
The printable PDF begins with an overview, followed by a color key and numbered grid pages. Each section shows its board position and row and column range. Use the overview to orient the pages and the legend to identify bead colors consistently across the pattern.
Review the export at its intended print scale. Small symbols or cell boundaries must remain visible enough to count. The PDF is a chart, not a saved editor project; download it and the PNG if you want a copy before you leave the page.
Perler bead pattern maker questions
Which bead brands and palettes are available?
The tool includes Perler Midi, Hama Midi, Artkal S, Nabbi, and MARD color catalogs. Choose the catalog that matches the beads you plan to use before checking the key.
Will the digital colors exactly match my beads?
No exact physical match is guaranteed. Palette colors are screen references and can differ with lighting, display settings, materials, or production batches. Compare a printed key with your beads before starting.
What bead widths can I choose?
The design width options are 29, 58, 87, and 116 beads across. The grid height follows the image proportions, so check both dimensions before planning boards.
How are large patterns split into board pages?
Choose the bead width for each PDF board page. Large patterns are divided into numbered sections with board positions and row and column ranges, alongside an overview and color key.
What does the PDF include?
It includes a board overview, a brand color key with reference codes and bead counts, and numbered pattern pages. Check the print scale so grid lines and labels stay readable.
Do bead counts include extras?
No. The counts describe chart positions assigned to each reference color. Add your own allowance for dropped beads, test pieces, mistakes, or replacements.
Can I edit the bead pattern?
Yes. Paint, erase, fill, or pick a color from the grid. Recheck the color key and totals after edits, then export the updated design.
Which image files can I convert?
PNG, JPG, and WebP images are supported. A clear silhouette and simple background usually create a pattern that is easier to follow than a detailed, busy photograph.
Does the converter upload my photo?
No. The source image is processed in your browser and is not uploaded to the tool. The editor does not keep a project for a later session, so download your pattern before leaving.
Does the pattern include fusing or ironing instructions?
No. It provides an image chart, board layout, and color counts. Follow the bead and pegboard manufacturer’s instructions for assembling and fusing your own project.