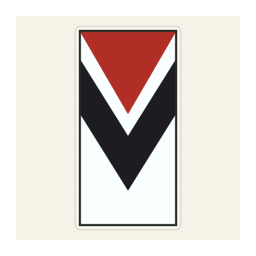
Choose a banner recipe to try
Load one of twelve distinct base-color and pattern-layer recipes in the banner designer.
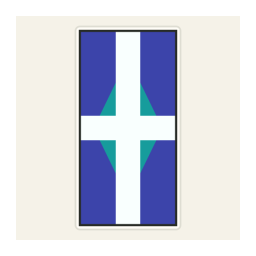
Azure compass crest
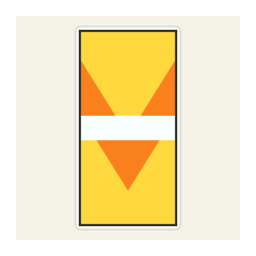
Sunlit fields
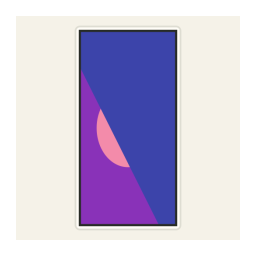
Violet dusk
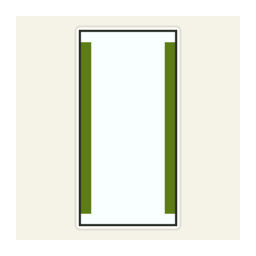
Forest crest
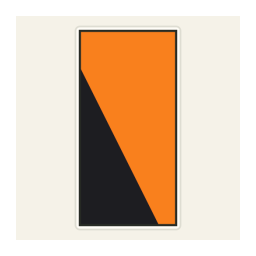
Ember divide
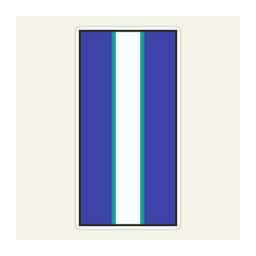
Tidal stripes
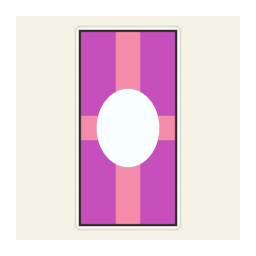
Rose cross
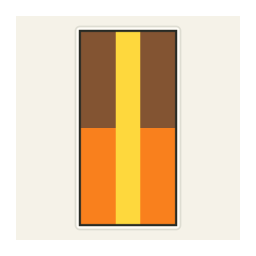
Copper beacon
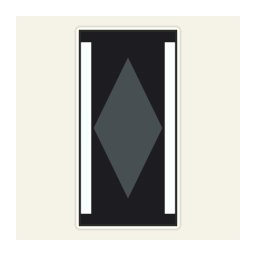
Monochrome shield
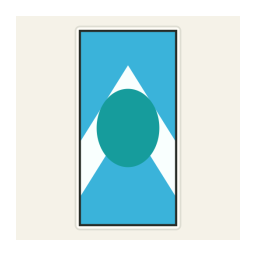
Frosted chevron
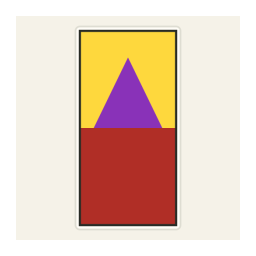
Golden standard
These banner recipes are illustrative guides. Choose one to load its base color and ordered pattern layers in the designer.
Features
Explore what this workspace can do, how each control affects the result, and which export fits your next step.
Choose a banner base color
Start with one of the available banner colors as the background of the design. The base remains visible wherever later geometric motifs do not cover it.
Combine geometric pattern layers
Add a motif and dye color to each layer. The designer supports up to six ordered layers, so the visual result depends on both the selected shapes and the order in which they sit.
Preview color and placement together
See the base and layered motifs as a flat guide while you experiment. Comparing one layer at a time makes it easier to notice when a shape hides too much of the pattern below it.
Copy an ordered crafting recipe
Copy the text recipe for the base banner and its selected pattern and dye layers. Keep the listed order when using it as a crafting reference.
Download a visual reference
Save a PNG preview to keep beside the copied recipe or share the design with another player. The image is a reference, not a game item or a world file.
Plan within the tool’s scope
The designer focuses on color and motif combinations. It does not calculate ingredient inventory or generate a command, schematic, or in-game banner item.
How to design a layered Minecraft banner
Build the design from its base upward. Preview each motif as it is added, keep layer order intentional, then copy the recipe and verify it in your game edition.
Set the base banner color
Choose a background color that supports the main motif. If the design relies on a bright central shape, select a base with enough contrast to keep that shape visible.
Add a motif and dye to each layer
Choose a geometric pattern and a dye color, then add the next layer only when it improves the design. You can use up to six layers; the order affects which shapes remain visible.
Review the combined preview
Look for strong contrast, a clear focal area, and motifs that remain recognizable when stacked. Remove or recolor a layer if it makes the banner feel crowded or hides the base pattern.
Copy the recipe and save the PNG
Copy the displayed base-and-layer recipe in order and download the flat PNG guide. Use both while crafting, then check the resulting banner in your own game edition.
Understand the base, motif, and layer order
A banner design starts with a base color, then adds geometric pattern layers in sequence. The base is the canvas beneath the motifs; each later layer changes part of the visible design. This makes layer order a design decision, not just a list of colors.
Begin with the most important shape and add supporting motifs around it. If a later layer covers a feature that matters, move the idea to another color or remove an unnecessary layer. The tool allows up to six layers, but a design does not need to use all of them.
Choose colors for contrast and hierarchy
A banner has limited space, so each color should help distinguish the main motif from its background. Strong contrast makes the design easier to identify at a glance. Similar colors may blend together in the preview, especially when one geometric pattern covers a large area.
Try a small number of colors before building a more complex stack. A base and one clearly visible motif can make a stronger design than several layers with competing contrast. Compare the preview against a plain background and at a smaller size to see whether its main shape remains legible.
Use geometric motifs to create a focal point
The motif set is made from geometric overlays, so the designer works best for emblems, stripes, borders, diagonals, and layered symbols. It is not a freehand drawing surface. Think in terms of large shapes and negative space rather than small illustrations with many independent details.
Place the most recognizable element where it can be seen clearly, then use secondary layers to frame or emphasize it. If an overlay makes the design feel crowded, remove it or change its dye color. The flat canvas helps you compare combinations before you gather materials.
Read the preview as a flat crafting guide
The preview shows a simplified, flat combination of the selected base and motifs. It helps you compare color choices and layer order, but it does not reproduce every in-game lighting, shading, or rendering detail. The appearance of the final item can vary by Minecraft edition.
Use the preview to decide whether the composition works, then treat the recipe as a practical checklist. If exact in-game placement is important, verify the design in your own game rather than assuming the flat PNG will match every screen or version.
Follow the copied recipe from base to final layer
The copied text lists the base banner and the selected pattern and dye layers in order. Keep that sequence when you use the recipe, because changing the order can change which motif sits above another. Check each item as you craft so a skipped or repeated layer is easy to spot.
The recipe is a text reference only. It does not include an inventory calculation for every crafting ingredient and it is not a command or a generated banner item. Gather the dyes and pattern ingredients according to the version and crafting rules in your game.
Save the design before leaving the page
Download the PNG to preserve the visible arrangement and copy the recipe if you want a text record. The banner editor does not save a named project to an account or restore an earlier design after the page session ends.
Keep the visual and recipe together when you share a design. A PNG makes the composition easy to compare, while the ordered recipe describes the base and layers. If you change the preview, copy the recipe again so both references describe the same version.
Minecraft banner maker questions
How many pattern layers can I add?
The designer supports up to six ordered motif layers. Each layer uses a geometric pattern and a dye color. You can use fewer layers when a simpler composition reads more clearly.
Does the preview exactly match a Minecraft banner?
It is a flat visual guide, not a full game renderer. In-game shading and motif appearance can vary by edition, so check the recipe in the version you play when exact rendering matters.
Can I copy my banner recipe?
Yes. Copy the displayed recipe for the base banner and its ordered pattern and dye layers. Follow the sequence from the base upward, and verify ingredient requirements in your game edition.
Does this generate a banner item or command?
No. It provides an editable preview, a copyable recipe, and a PNG reference. It does not create an item, command, world, schematic, or structure file.
Do I need to use all six layers?
No. Six is the maximum. A base color with one or two high-contrast motifs may be easier to recognize than a design that uses every available layer.
Can I use custom images or draw my own shapes?
This page is a motif-and-color designer, not an image uploader or freehand canvas. Choose from the available geometric patterns and combine them in layers.
Can I download the design?
Yes. Download a PNG of the flat preview and copy the recipe text. The PNG is an image reference and does not contain a Minecraft banner item or editable game data.
How should I choose a banner color combination?
Start with a base that contrasts with the main motif, then add supporting colors one layer at a time. Review the small preview to make sure the main shape still stands out.
Does the recipe include material quantities?
The recipe lists the base and selected layers; it is not a complete inventory planner. Check your edition’s crafting requirements and gather any additional materials needed for the design.
Can I keep an unfinished banner design for later?
The page does not save an account-backed project for another session. Download the PNG and copy the recipe before refreshing or leaving if you want to keep a record.