LEGO Mosaic Maker
Convert a photo or illustration into a LEGO-style mosaic grid. See a color key and tile counts, then download a PNG or printable PDF to guide your build. The palette is a reference and does not guarantee current part availability or exact physical colors.
LIVE PREVIEW
Your pattern
Choose an image to create a patternYour image is processed locally in this browser.
COLOR KEY
Color cells and counts
Choose a LEGO mosaic to try
Load a photo reference and see it translated into countable LEGO-color studs.
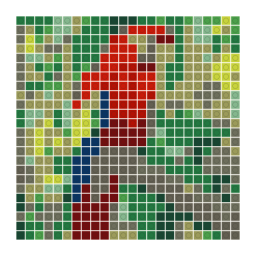
Scarlet macaw on a branch
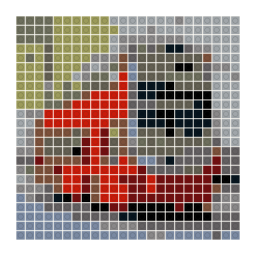
Red double-decker bus
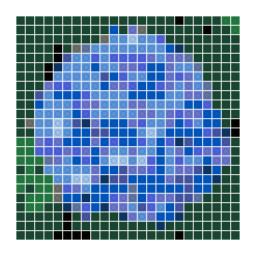
Blue hydrangea bloom
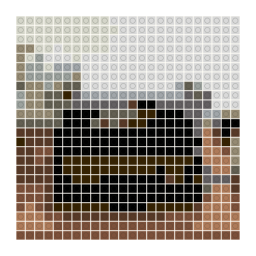
Vintage typewriter
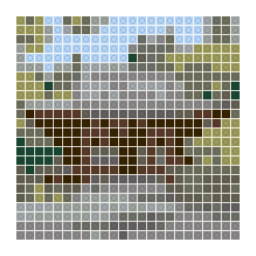
Wooden Japanese temple
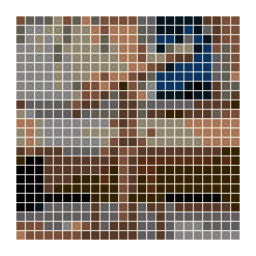
Brass telescope
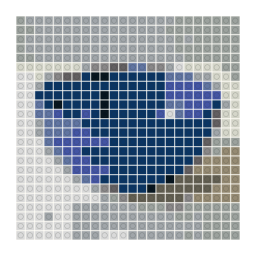
Blue ceramic bowl
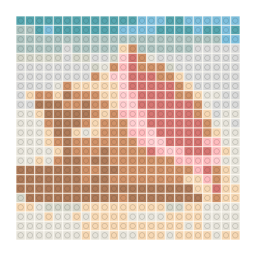
Pink conch shell
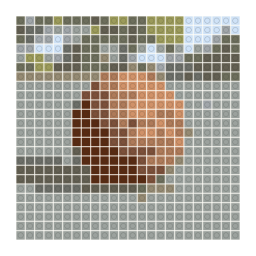
Basketball on an outdoor court
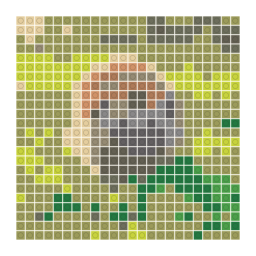
Hedgehog in morning grass
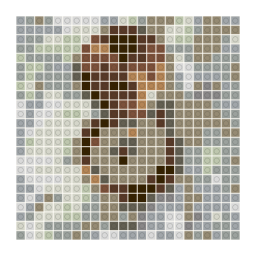
Antique brass compass
These starter designs are illustrative, not customer work. Choose one to load it in the editor, then adjust the grid and colors for your project.
Features
Explore what this workspace can do, how each control affects the result, and which export fits your next step.
Translate an image into a tile grid
Load a PNG, JPG, or WebP image and choose the number of cells across the design. The height follows the image proportions, with each cell representing one mosaic position.
Map cells to a reference color palette
The converter assigns cells to nearby colors in its LEGO-style reference palette. Digital values are approximations; monitor settings and physical parts can make the colors look different.
Read per-color tile counts
Use the color key to see how many grid cells use each reference color. The counts help estimate the mosaic layout, but they do not verify part shapes, current stock, or a retailer order.
Edit cells before planning the build
Paint, erase, fill, or pick colors in the grid when a region needs adjustment. Review the updated counts after editing so your reference and cell layout stay aligned.
Save the pattern as PNG or PDF
Download a PNG for a quick visual guide or a printable PDF with the cell grid and color key. Use the printed version to follow rows while arranging the mosaic.
Work from an image in your browser
The source image is processed locally in the page and is not uploaded to the converter. The current tool does not store a named project for a later session.
How to turn a picture into a LEGO-style mosaic
Create a tile map from a source image, reduce it to a practical color set, and use the grid and counts as a planning reference for your physical build.
Choose a source with a clear subject
Load a photo or illustration or start with an example. Strong outlines and distinct color regions give a mosaic a better chance of reading clearly when its small cells are viewed from a distance.
Choose width and maximum colors
Set the number of tiles across, then decide how many colors you want to manage. Fewer cells and colors create a simpler build; more cells and colors can preserve detail but require more planning.
Inspect the color map and counts
Check the grid from the overall shape down to each color region. Adjust any cells that need a better boundary, then use the key to review counts as planning estimates rather than a confirmed shopping list.
Export a build reference
Save a PNG for quick access or print the PDF with the grid and color key. Confirm the availability and physical appearance of each color and part before ordering materials.
What the mosaic maker gives you
The maker converts an image into a two-dimensional color grid. The key groups cells by reference color, and the count for each color tells you how many mosaic positions currently use it. This gives you a visual plan for arranging one tile per cell.
It is a design reference, not a parts database or inventory checkout. It does not choose a particular brick shape, check current stock, calculate shipping, or produce a retailer shopping list. Confirm the part and color you intend to use before buying materials.
Choose an image that reads from a distance
A mosaic is often viewed farther away than a screen preview, so a bold silhouette and clearly separated color areas matter. Close crops of a face, symbol, or object give more grid positions to the main subject. A busy landscape can devote many cells to background regions that contribute little to the recognizable shape.
Consider simplifying the image before loading it: remove small background objects, increase contrast, or use a flatter illustration. If fine details disappear in the grid, raise the width or accept a more abstract result rather than expecting every photographic nuance to survive.
Plan the grid as cell positions
Grid width sets the number of positions across the mosaic, while the height follows the source image proportions. Increasing the width gives details more cells, but also increases the total number of pieces. A smaller grid needs fewer positions and tends to emphasize the outline.
The tool does not define the physical size of the finished panel because that depends on the piece format and arrangement you choose. Use the grid dimensions as counts of positions, then calculate the finished size from the actual pieces and spacing in your build method.
Treat digital color matches as a guide
The palette maps each cell to a nearby screen color. Screen RGB values are approximations of catalog colors; display calibration, ambient light, material, and production batches can affect how the physical pieces appear. A color that looks close in the preview may not match a part you already own.
The palette can include historical colors and may not represent the parts currently available in every region. Check a current parts catalog or your own collection before planning a large panel. If a color is unavailable, choose a substitute and edit those cells to keep the pattern consistent.
Read counts as positions, not confirmed purchases
Each count is the number of grid cells assigned to a reference color. It assumes one tile for each position and does not add spares, replacement pieces, a frame, backing, or parts needed to secure the mosaic. It also does not distinguish all possible physical shapes that could fit a position.
Use the totals to compare color complexity and make an initial estimate. Before ordering, translate the reference colors to exact part IDs and add any extra materials your construction method requires. Recheck the counts after cell edits or palette changes.
Edit large color regions before exporting
Paint and Fill can make a region more consistent, while Pick lets you reuse an existing color. Erase a cell when the grid should contain an open position. These tools help refine a generated design, especially around a silhouette or boundary between two colors.
Review edits at the size the panel will be viewed. A change that improves a zoomed-in cell may create an awkward spot in the overall image. When the source itself is too detailed, use another crop or grid width rather than spending time correcting every small cell.
Use the PDF or PNG as a row-by-row guide
The PNG is convenient for sharing and zooming. The PDF adds a printable grid and color key, which can help you track rows and compare the number of pieces assigned to each color. Keep the preview and key together so a color name is not separated from its locations.
Check the print layout before you start: grid lines should remain visible and the key should be large enough to read. The export records the pattern reference, not an editable project. Download the version you want to preserve before leaving the page.
LEGO mosaic maker questions
Does the tile count create a shopping list?
No. It counts one mosaic position per grid cell and groups positions by reference color. It does not select exact part shapes, check current availability, or create a retailer order.
Are all palette colors currently available?
Not necessarily. The reference data can include historical colors and may not match current stock in your region. Check a current parts catalog before buying pieces for a large mosaic.
Will physical bricks match the screen preview?
Not exactly. The palette uses approximate digital colors, and screens, lighting, materials, and production batches affect appearance. Compare the reference with the physical pieces you plan to use.
How large will my finished mosaic be?
The tool gives you grid width and height in cell positions, not a physical measurement. Calculate the panel size from the dimensions and spacing of the specific pieces and backing you will use.
How do I make a mosaic easier to build?
Use a lower grid width and fewer colors to simplify the layout. Choose a clear source image with a strong silhouette, then review whether the subject remains recognizable from a distance.
Can I edit a cell or replace a color?
Yes. Paint, erase, fill connected areas, or pick a color from the grid. Recheck the color counts after editing because the key changes with the pattern.
Can I print my LEGO mosaic pattern?
Yes. Download a PDF with the grid and color key or use a PNG as a visual guide. Check that the cell lines and legend remain readable at the printed scale.
Which image formats are supported?
The image grid accepts PNG, JPG, and WebP files. Clear, high-contrast sources usually translate more cleanly than images with many subtle background colors.
Does the tool verify piece inventory?
No. It does not check retailer catalogs or your existing collection. Treat color totals as a pattern estimate, then verify exact parts and availability separately.
Is my photo uploaded or saved?
The image is processed in your browser and is not uploaded to the converter. The page does not keep a project library for later, so export the pattern before leaving.